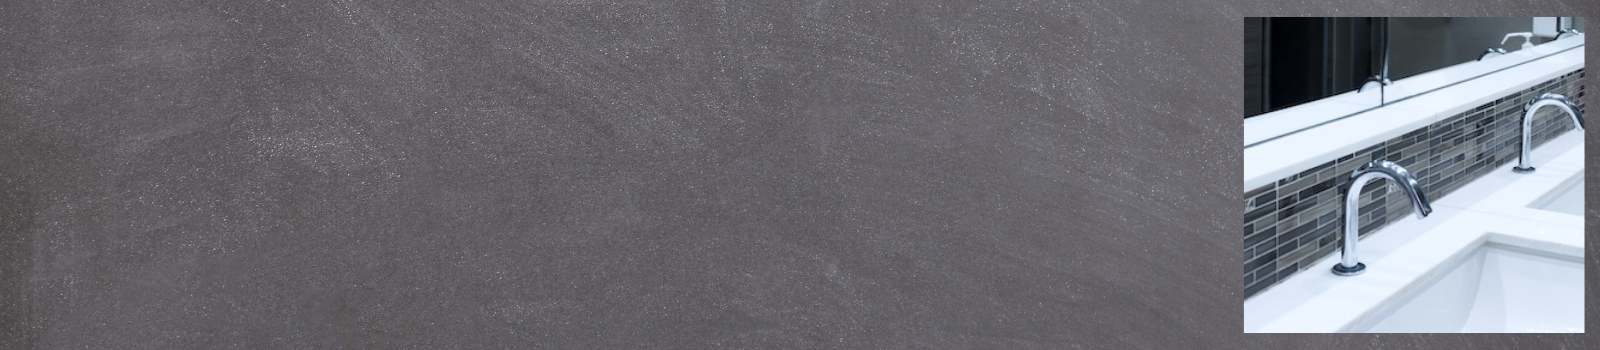
Installing commercial sensor faucets in a public restroom is a very smart decision. Not only do they add convenience to the space, but they also help to save on water consumption, are ADA Compliant, and help to reduce the spread of germs.
Another benefit of this public lavatory faucet is that you can easily install one yourself.
In this post, we’ll provide a step-by-step guide on how to install commercial sensor faucets
Keep reading to learn more
 Step One: Turn Off Water
The first step is to turn off the water at your existing faucet. You can either shut off the water supply valves at your sink or turn off the main water valve for the entire building.
Step Two: Disconnect Supply Lines
Once the water is turned off, open up the faucet to let any remaining water drain out. Using an adjustable wrench, remove the hot and cold-water supply lines located at the shut-off valves or the faucet. Make sure to have a bucket under the supply lines to catch any water that drips. A towel can also help to keep things dry.
Step Three: Detach Old Faucet
In step three, you’re now ready to remove the old public lavatory faucet. However, not every faucet is removed the same way. A large locknut underneath the sink secures some faucets in place, while other types use a threaded rod with a nut and mounting plate. To remove the equipment, loosen the nut and detach the faucet from the sink.
Step Four: Clean Area and Reattach Water Lines
Before installing new sensor faucets, you’ll want to clean the area. Over time, there may be tons of dirt and mineral deposits that build up. After wiping away the surface of the sink, reattach the water supply lines to the faucet. Please note that some commercial sensor faucets come with these lines already connected.
Step Five: Install New Faucet
To begin the new installation, install the deck plate if required, then feed the supply lines and the shank of the faucet through the deck plate hole. Then, tighten the screws on the threaded lock nut. This nut should be covering a rubber washer and brass washer. Slightly tighten each screw until snug.
For sensor faucets that have a control box, mount the control box in an appropriate location under the sink. Mounting hardware is usually included.
Step Six: Connect Water Supply
Inline filters should then be installed on each water supply outlet. Make sure it’s connected in the right direction. Then, attach the supply lines to their corresponding shut-off valve. Tighten with a wrench until snug, but don’t overtighten.
Step Seven: Test Water
The last step is to ensure everything works perfectly. First, turn on shut-off valve(s) and look for any leaks. Then, connect the faucet to power (insert batteries or plug-in power adapter). Test for the proper operation of the faucet. If you have an under-deck mixing valve, adjust the mixing valve to the desired temperature.
Need New Sensor Faucets? Choose Hydrotek!
Hydrotek is the leader in commercial touchless faucets. Since 1985, we’ve been helping businesses all over the world with their commercial lavatory needs. Whether you need high-quality sensor faucets, flush valves, or sensor showers, we have the trusted products you can depend on.
For all your sensor faucet needs, contact the commercial lavatory experts at Hydrotek today!
For more information on Sensor Faucets see these posts: